
This soap sock is a neat way to make your soap stretch a little further while gently exfoliating your skin. You can knit them up in half an hour and use whatever yarn you have to hand. I'm told that felting wool is great because it actually shrinks with the soap as you use it, but my particular favourite is using string! Not the horrid nylon stuff but the old fashioned 100% cotton twine. It's a little strange, at first, knitting with something that has no 'give' whatsoever but it's a simple project so doesn't cause too many headaches!
First of you will need...
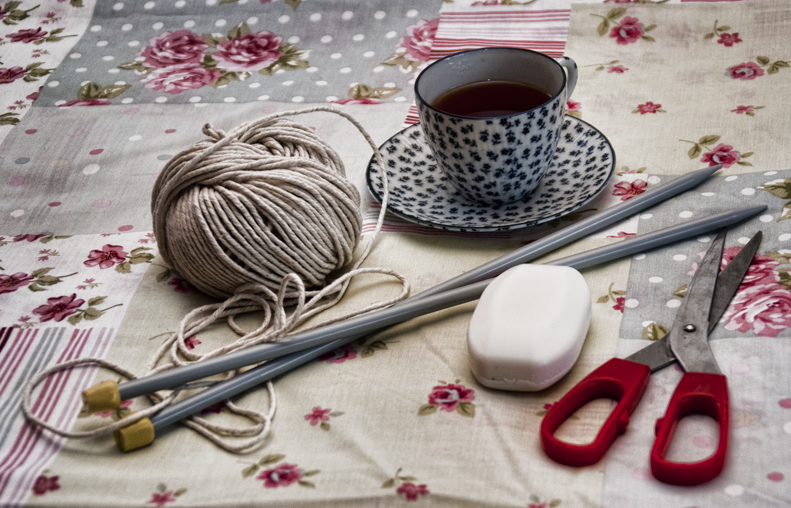
A ball of your chosen yarn (or string)
A pair of knitting needles - I use 8mm but play around to find what works best with your yarn.
A bar of soap - whatever you like best!
A pair of scissors and a cup of tea (all the best projects involve tea or wine and since I'm detoxing it's tea for me!)
Start by casting on in your preferred style. I've always gone for the 'Thumb' method myself! You'll need to cast on enough stitches to cover 3 sides of your soap - I have cast on 12 with this chunky string and 8mm needles. Just remember to cast on an even number of stitches.
Now this next stage could sound daunting if you've never tried double knitting but it's unbelievably simple and so quick to do you will be a pro in no time.
Knit your first stitch. Then slip your next stitch as if to purl - this means put your needle as if you are going to purl the stitch and then just slip it over. Carry on with knit one, slip one until you reach the end of the row. You will always finish on a slipped stitch.
Once you have worked a few rows like this you will be able to feel 2 sides to your knitting and actually be able to separate them a little!
There is a great video explaining the method:
Turn your work around and repeat until your 'sock' is long enough to hold your bar of soap. Always start on a knit stitch and finish on a slip!
Once your sock is long enough you've reached the scary part! Leave a long tail - about 1.5 meters - and slip your work off your needle. Yes, I said slip it right off without casting off.

Now gently prize your work open (like opening a bag of crisps!) and carefully thread your long tail through each of your stitches, starting with the last knitted stitch.

Be careful not to drop any stitches as you thread your tail through them!

Once you have caught every stitch on your tail you can turn it inside out, pop your bar of soap inside and pull the tail to tighten around the top of the bar.
Now the reason for the extra long tail... We're going to make a handle to hang your soap from so it can dry out and not go all squishy between uses!
Make a slip knot in the yarn, as close to the sock as you can get it. Form a loop and tuck it into the noose. Make another loop and tuck it into the previous loop. Keep repeating. When the chain is long enough, lock it by passing the end through the final loop. See here for animated instructions.
Tie the loop to form a handle and you're done!
Please let us know what you think - it's my first tutorial - and feel free to ask questions or show us your finished soap socks!
Nikki x
No comments:
Post a Comment